Crawl space vapor barrier installation is one of the most effective ways to protect your home from excess moisture. It helps prevent mold, wood rot, and pest issues caused by moisture, and can even improve your home’s energy efficiency.
In this guide, we’ll cover what a crawl space vapor barrier is and how to install one. Read on to find out more!
A crawl space vapor barrier is a thick, durable plastic membrane that covers the dirt floor of a crawl space. Essentially, it’s a moisture barrier that stops or slows water vapor from seeping up from the soil and rising into the home.
Most vapor barriers are heavy-duty polyethylene sheets typically between 6 and 20 mils (0.006 to 0.020 inches) thick. The vapor barrier material is generally spread across the crawl space floor, and sometimes partially up the walls to create a continuous shield against humidity. Six mils is the minimum recommended thickness, while 15- and 20-mil sheets are perfectx if you use the crawl space for storage.
Moisture is the number one enemy of a healthy home structure. Without a barrier, water vapor from the earth can rise into your crawl space and cause several problems:
In addition to preventing these issues, a crawl space moisture barrier installation can enhance comfort and improve air quality. Many people with damp crawl spaces report musty odors in the home and experience increased allergies. A vapor barrier installation blocks moisture and mold, improving indoor air quality and eliminating unpleasant odors.
How do you know if your crawl space actually needs a vapor barrier? In general, most crawl spaces can benefit from one, but there are some clear warning signs that you can’t ignore and must act immediately.
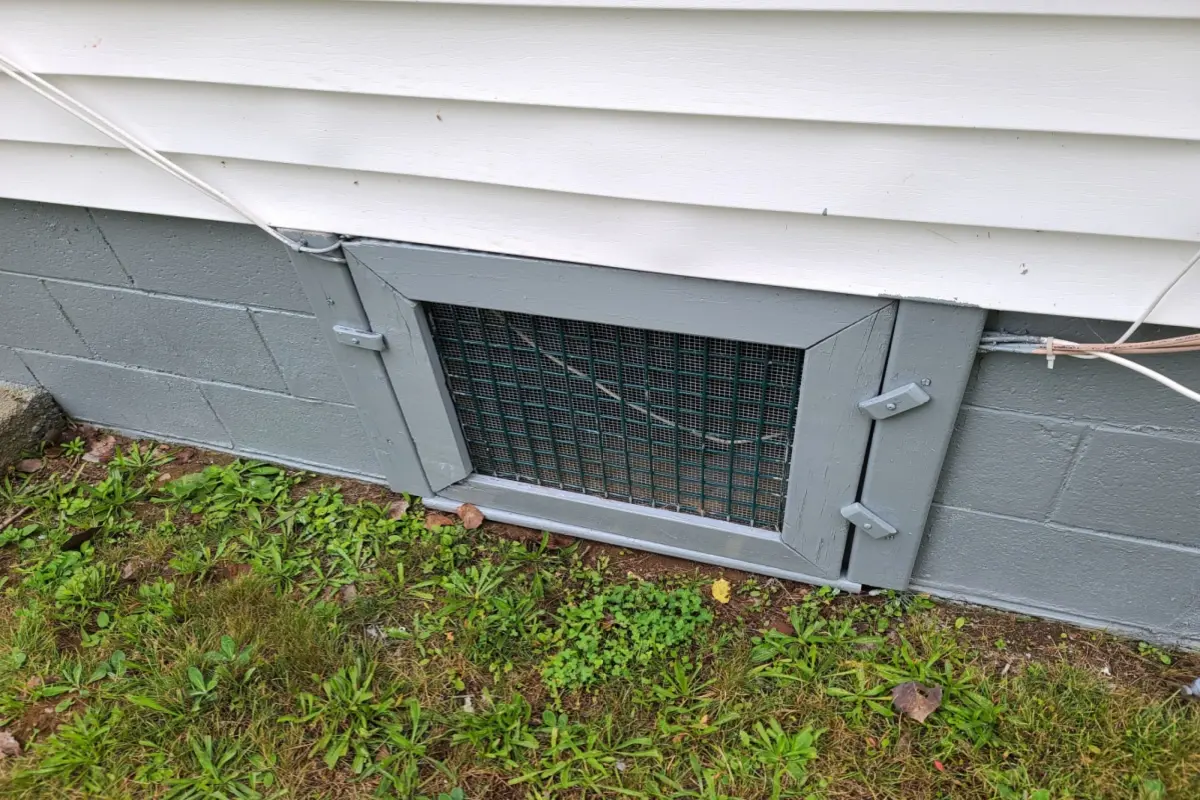
For instance, if you see puddles or persistently damp earth, it’s a red flag. Standing water could come from groundwater seepage, poor drainage, or plumbing leaks. If your home feels unusually humid and you notice condensation on cool surfaces, this could be a sign that your crawl space is too moist.
Have your floors started to sag or feel soft and bouncy? Did the energy bills suddenly go up inexplicably? All of these can also be signs of a moisture problem in your crawl space, so it’s always best to consult a professional and take action now to prevent these issues from becoming costly renovations later.
Whether you hire a professional installer or plan to do it yourself, here’s how to install a vapor barrier in a crawl space in a few easy steps:
Additional Tips: Bring a helper, as two sets of hands make positioning and taping faster and safer. Use thicker, reinforced plastic (10-mil or more) if you’ll crawl the space often, and pair the barriers with drainage or dehumidification when liquid water or high humidity is present. Finish with a flashlight walk-through to confirm flat lay, tight edges, and fully taped seams.
A crawl space vapor barrier installation typically doesn’t require a lot of specialized tools. You might already have many of these items:
The clear advantage of DIY is cost savings on labor. The materials themselves are relatively cheap, whereas professional installation services can run thousands of dollars. DIY also allows you to schedule at your own pace, and you’ll become intimately familiar with the condition of your crawl space, which is helpful for future maintenance.
However, if your crawl space has extensive problems, such as heavy mold, structural damage, or severe water intrusion, simply installing a vapor barrier may not be enough. In such cases, it is highly recommended to call a professional who offers comprehensive crawl space repair services. They can incorporate the vapor barrier as part of a larger solution, such as adding interior French drains, sump pumps, or replacing damaged wood.
While a professional crawl space vapor barrier installation does cost more, there are ways to manage it. Some contractors offer crawl space repair financing that spreads out payments for a larger project. Also, take into consideration the long-term energy and cost savings that a well-done job can provide.
A properly installed vapor barrier can last for many years, even decades, if it is properly maintained. Here are some tips to keep your vapor barrier and the overall health of your crawl space:
The final cost depends on several factors, including the thickness of the barrier and whether it’s a DIY project or with the help of a contractor. Basic 6-mil plastic sheeting might cost between $0.15 and $0.30 per square foot. For DIY, you might spend under $500 in total for a standard 1,000 sq. ft. crawl space.
Professional installation will cost more, as it involves additional labor costs. Hiring a contractor to install a vapor barrier typically costs around $1,200 to $4,000 on average. This cost varies depending on your region and the size of your crawl space.
A crawl space vapor barrier installation is a smart way to protect your home from lingering moisture and resulting problems. When done right, it helps preserve your home’s structure, keeps indoor air healthier, and may even improve energy efficiency over time.
Before you install the plastic, ensure you’ve addressed any leaks or drainage issues, and don’t hesitate to seek expert help if your crawl space requires more than a simple liner. For many homeowners, working with a qualified contractor is the most effective way to achieve a clean, dry, and long-lasting result.
Need help finding the right professional for your crawl space project? Renovate can connect you with trusted contractors who specialize in vapor barrier installation and moisture control.
Yes, concrete can be applied directly over the vapor barrier. Standard practice is to place the vapor barrier directly under the concrete, right on top of the gravel or soil base. You do not need an intermediate layer, such as sand, between the concrete and plastic.
Building codes, such as the International Residential Code (IRC), require ground vapor barriers in most crawl spaces today. The IRC typically mandates the earth to be covered with a continuous Class I vapor retarder. Class I means a perm rating of less than 0.1, which is a 6-mil polyethylene sheet (or thicker) with all seams sealed.
The most recent IRC code and the American Concrete Institute (ACI) both recommend a minimum 10-mil vapor barrier under concrete slabs in residential construction. So if you’re pouring a basement or crawl space slab, aim for a Class A vapor barrier.
When properly installed and maintained, a crawl space vapor barrier can last 20 years or more. Thicker barriers typically tend to last longer.
This project is a medium-level DIY task. It requires some physical work, and if you’re handy and aren’t claustrophobic, you can do it on your own. However, hiring a professional contractor is always recommended.
In many cases, a vapor barrier can help reduce your energy bills, although indirectly. By keeping your crawl space dry, a vapor barrier helps your insulation stay dry and reduces the workload on HVAC systems.