Crawl spaces are often out of sight and out of mind—but they play a bigger role in your home’s comfort, air quality, and structural integrity than you might think. One method gaining attention among homeowners and contractors alike is crawl space encapsulation. This sealing process helps protect your home from moisture, pests, and other issues originating below the floorboards.
Is it the right solution for your space? Read on to learn about crawl space encapsulation and determine if it’s a wise investment for your home.
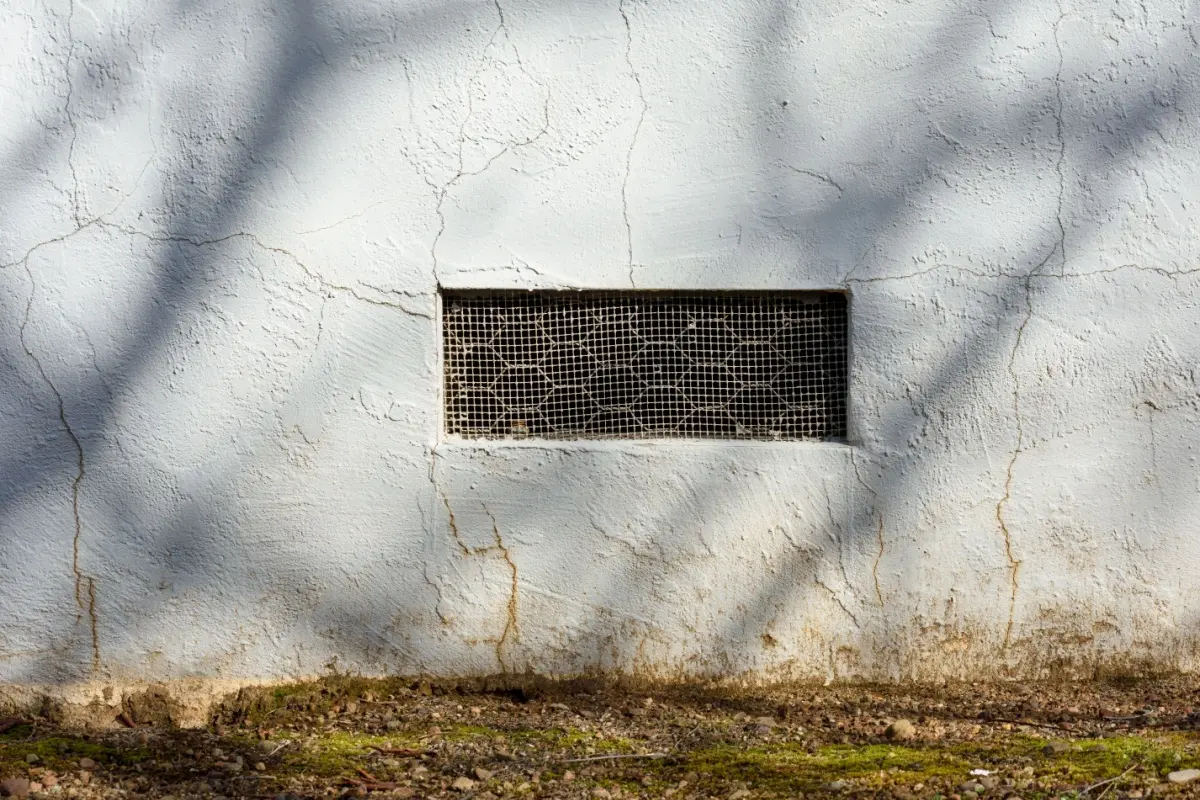
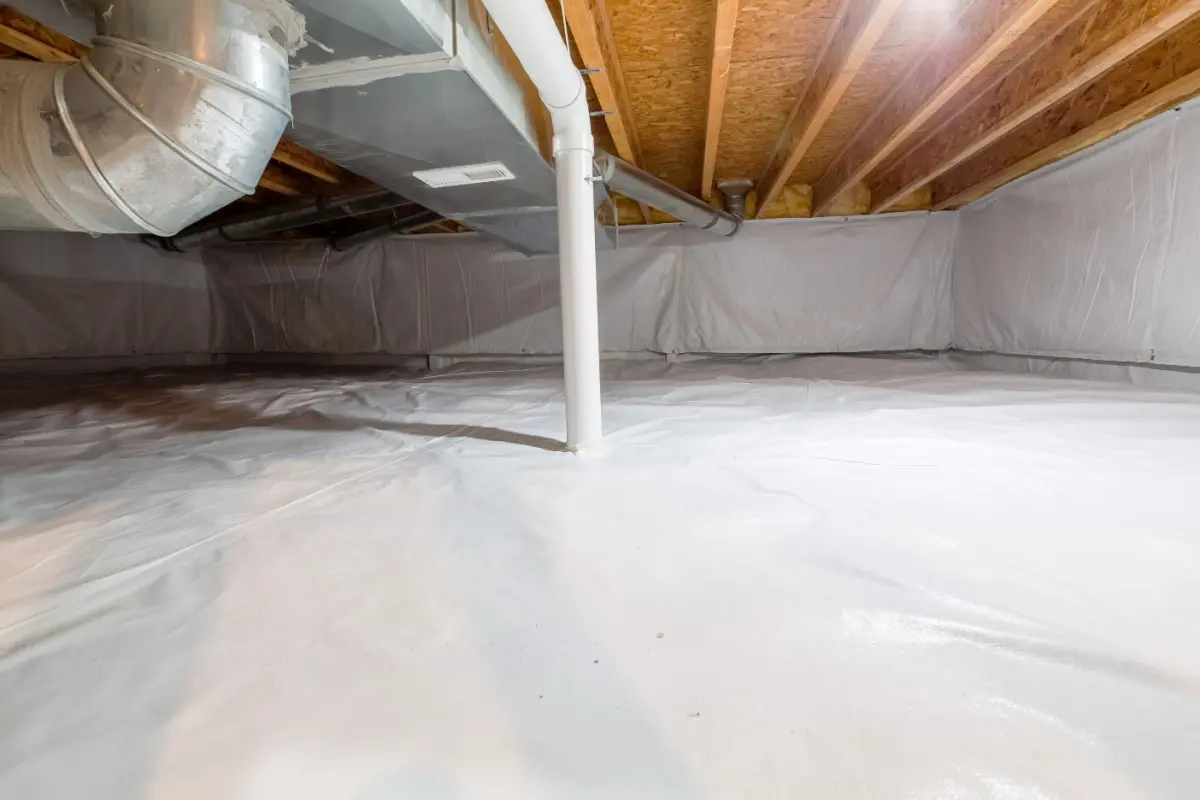
Crawl space encapsulation is the process of sealing the walls and floor of your crawl space with a heavy-duty vapor barrier. First, you close all foundation vents to lock out humid air. Next, you lay thick plastic sheeting across the floor and up the walls, forming a continuous moisture barrier.
A bit of insulation and a small (optional) dehumidifier finish the job. The payoff? Ground moisture stays out, mold and pests lose their foothold, and your heating and cooling systems run more efficiently.
When left unchecked, minor issues under your floor can quickly balloon into major headaches and costly calls to local crawl space repair services. Here are the most common culprits:
Crawl space sealing transforms the area beneath your home into a protected, dry zone. Homeowners see real advantages from this upgrade, some of which are included below.
When you seal up your crawl space, damp air and mold spores can’t make their way into your living room. That means fewer musty odors and allergens drifting up through the floors. Many homeowners notice a noticeable improvement in indoor air quality soon after encapsulation.
Cold winter drafts and summer heat gain often sneak in through an unprotected crawl space. When you insulate and seal that area, your HVAC system doesn’t have to work as hard against these temperature swings.
As a result, energy use drops noticeably, and those monthly bills shrink. These savings can add up to hundreds of dollars per year.
Water seeps into the soil under your home and can cause wood beams to swell and rot. Over time, this moisture can cause the joists to warp, leading to sagging floors or cracks in your foundation.
Encapsulation prevents groundwater from entering with a continuous barrier. It’s an investment in your home’s long‑term stability.
A moist, dark crawl space is like an all‑you‑can‑eat buffet for termites, rodents, and insects. By sealing it off, you remove their shelter and water source.
Encapsulation blocks cracks and vents where pests sneak in, cutting off the moisture they need to thrive. Fewer pests mean less damage to wiring, insulation, and wood, and fewer creepy surprises when you peek under the floor.
Most crawl spaces stay off‑limits because they’re damp, dirty, or full of pests. An encapsulated crawl space, however, remains clean and dry with minimal upkeep, making it an ideal place to store seasonal items, tools, or gear. It’s like gaining an extra closet without having to build an addition.
Future buyers want homes that need less upkeep. An encapsulated crawl space indicates that your home has been well-maintained and is less likely to harbor moisture or mold. Experts estimate this upgrade may boost property values by around 10%. Buyers may also appreciate the energy savings and reduced risk of repairs.
Here’s a step‑by‑step on how to seal a crawl space with a professional.
Before any work begins, a technician inspects your crawl space. They’ll check for standing water, wood rot, mold, and pests. You’ll learn exactly which areas need attention so you won’t face surprises (or surprise charges) later.
Next comes the cleanup. All debris, spoiled insulation, and any mold or pest droppings are removed. This step ensures the moisture barrier sticks properly.
Homeowners should plan to move stored items out beforehand and expect some noise and dust, but most crews use vacuums and wipes to keep the mess contained.
With a clean space, technicians close off foundation vents, gaps around pipes, and other air leaks. Sealing these openings prevents humid outside air and pests from entering.
You’ll often see foam or mechanical vents replaced with sealed panels. Ask your crew how they plan to handle access panels for future maintenance and repair.
Here’s where the “encapsulation” really happens: thick plastic sheeting is unrolled across the entire floor and up the walls, overlapping seams by at least six inches.
Crews tape or weld these seams to form one continuous moisture shield. You don’t need to monitor this step closely, but you can watch how they handle corners and stairs to ensure a tight fit.
After the barrier’s down, the walls and rim joists get insulated. Rigid foam board or spray foam helps maintain a more consistent temperature in the area and reduces drafts throughout the upstairs space.
You can discuss insulation thickness (its “R‑value”) with your technician based on your climate zone and budget.
If water intrusion is an issue, a French drain or sump pump may be installed along the perimeter to address the problem. Then, a crawl space-rated dehumidifier is wired and set to maintain a humidity level of 45 to 55%.
This combo prevents standing water and keeps mold from returning. You’ll learn how to empty or drain the unit and when to replace its filters.
Once encapsulation is complete, the crew walks you through the work. They show vents, the dehumidifier, and where to shut the power off in an emergency. They’ll explain routine tasks like checking humidity readings, clearing debris, and scheduling annual checks.
When budgeting for crawl space encapsulation, you’ll find that four main factors drive your total cost:
Smaller spaces cost less; larger ones require more materials and time. Expect to pay between $2 and $4 per square foot for a basic vapor barrier job and between $3 and $10 per square foot for a more comprehensive encapsulation. Most full projects average around $5,500 total.
Tight clearances (under about 18 inches) make the work slower and more challenging. That extra labor often adds 10-20% to your labor bill. It would be roughly $500 to $1,000 more on a typical job compared to a space you can crouch or stand in comfortably.
If your crawl space requires cleanup, mold or water damage repair, or pest removal, plan to allocate an additional $1,500 to $15,000, depending on the severity of the issue. Simple clean‑ups run low, while significant remediation and structural fixes push costs higher.
A basic vapor barrier installation (just lining the floor, sealing vents) typically costs from $1,500 to $4,000. A complete encapsulation, which adds thick wall liners, insulation, drainage solutions, and a dehumidifier. This usually falls in the $5,000 to $15,000 range.
Tackling crawl space encapsulation yourself can seem tempting, especially if you’re handy and want to save money. But sealing your crawl space correctly takes more than just plastic sheeting and tape. Let’s weigh the pros and cons.
| Approach | Pros | Cons |
| DIY | Lower upfront materials costComplete control over schedule and pace | Steep learning curve for proper sealing and insulationTime‑consuming prep and installationNo warranty or professional guarantee |
| Hiring a Pro | Expert assessment and troubleshootingQuick, efficient installationWarranties on labor and materials | Higher upfront costScheduling depends on contractor availabilityLess hands‑on involvement |
You don’t need fancy tools to spot most crawl‐space warning signs. Here’s how you can do it safely and effectively on your own:
Encapsulation isn’t a universal fix. In some homes, sealing the crawl space can trap hazards instead of solving them. Before installing a vapor barrier, ensure that none of the following conditions apply. If they do, address them first.
Regular puddles or seepage under the floor mean water will pool on top of any liner you install. Trapped moisture can lead to mold, rot, and unpleasant odors, and may even compromise the integrity of your foundation. Correct grading, extend downspouts, or install drainage systems (French drains or a sump pump) before encapsulating.
Flood‑zone homes need vents that allow floodwaters to flow in and out. Sealing those vents turns your crawl space into a bathtub during high water, increasing pressure on the foundation and violating FEMA (Federal Emergency Management Agency) rules. Install compliant flood openings first, then consider encapsulation above required flood elevations.
Gas furnaces, water heaters, or boilers often draw combustion air from the crawl space. Sealing vents without adding a dedicated fresh-air intake can increase the risk of carbon monoxide backdrafts. Either keep the vents open or upgrade to sealed-combustion appliances before encapsulating the area.
Maintenance after encapsulation isn’t set‑and‑forget. You’ll need to check your dehumidifier each month. Verify that it is maintaining the proper humidity level and that its drain line remains clear of clogs.
Every season, take a look under the house to inspect the vapor barrier seams for any sagging or minor tears. Clear away leaves, dirt, or other debris that could trap moisture against the barrier and compromise its performance.
If you ignore a persistent leak, you could end up having to replace subfloor panels down the line.
Crawl space encapsulation offers lasting benefits, including drier air, fewer pests, and lower energy bills, provided your home’s foundation and drainage are in good shape. If your inspection reveals damage, consider exploring financing for foundation repair so you can address those issues without depleting your savings. With a solid foundation in place, encapsulation will perform as intended, keeping your crawl space protected for years to come.
Across the United States, crawl space encapsulation runs about $5,500 on average, with most homeowners paying between $5,000 and $15,000. Your exact price depends on factors such as square footage, preparation work, and materials used.
It can. Sealing and insulating your crawl space prevents drafts and thermal leaks, which helps your HVAC system run more efficiently.
Encapsulation blocks common entry points for termites, rodents, and insects. It won’t eliminate an existing infestation, but it makes the environment far less inviting.
Even a sealed crawl space can accumulate moisture from the ground or air exchanges. A dehumidifier helps maintain the ideal humidity range (45-55%), keeping mold and rot at bay.
Basement crawl space encapsulation applies the same sealing principles but takes advantage of extra height. With taller walls, installers can use thicker foam board or batt insulation and work standing up, which speeds up installation and may lower labor costs.