There’s a moment when you realize your floors are holding your space back. Maybe it’s the dull color, the worn-out texture, or that one corner that never quite sits right. Replacing it sounds expensive and complicated, like something you’d have to hire people to do. But that’s not always true.
Vinyl plank flooring installation is a practical option that allows you to install it yourself without compromising quality or style. If you’re ready for a project that can completely transform your space and teach you a skill you’ll use again, this is the perfect choice. Keep on reading to understand exactly how to install vinyl plank flooring from start to finish.
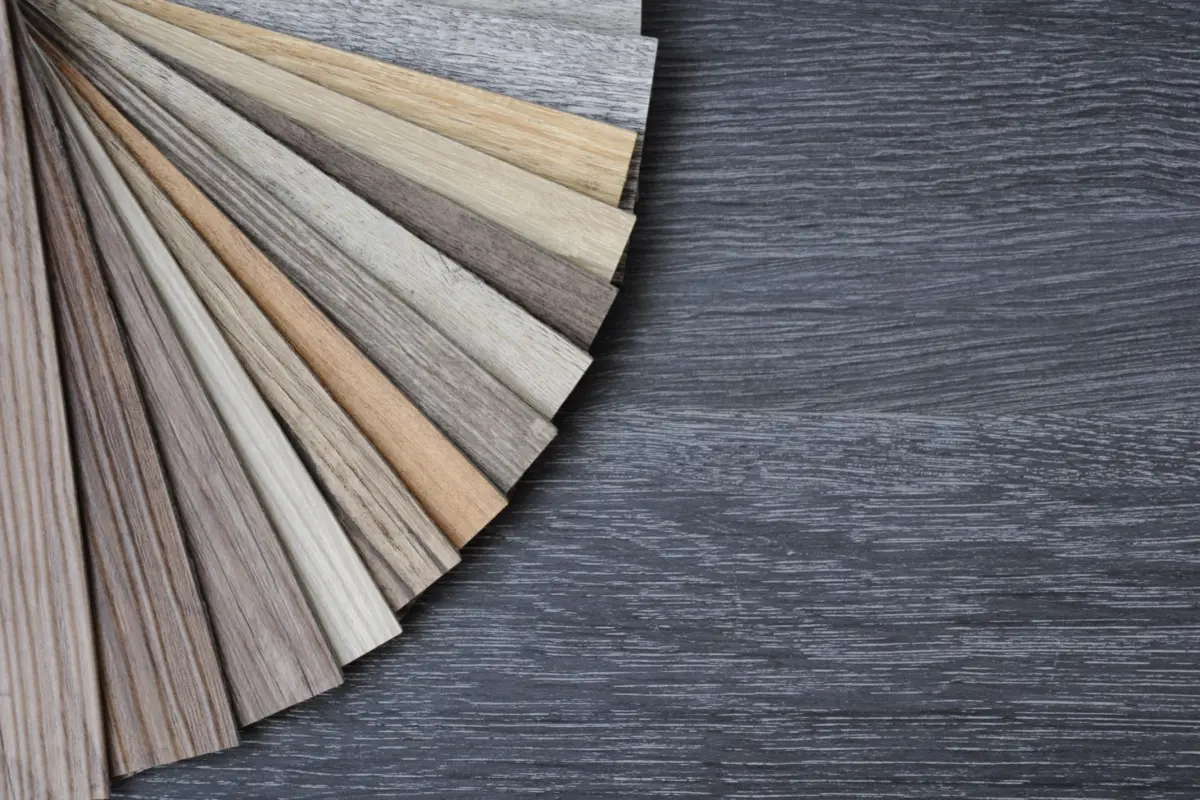
Vinyl plank flooring is durable, stylish, and budget-friendly. It works in almost any room and is easy enough for most people to install on their own. Its main benefits include:
A bit of prep saves time, prevents mistakes, and keeps the installation running smoothly. Here are the tools and materials you should gather before installing vinyl plank flooring:

For a smooth and long-lasting vinyl flooring installation, you need to prepare your subfloor.
Sweep, vacuum, and remove all debris, nails, and old adhesive. On wood, secure any loose boards. On concrete surfaces, scrape off paint or glue to create a clean surface.
If the subfloor is too damaged to fix yourself, look into who to hire to replace the subfloor before moving forward.
Tape a transparent plastic sheet to the floor for 24 to 48 hours. If moisture collects underneath, install a polyethylene moisture barrier before proceeding. Simply roll out the sheet over the subfloor with the smooth side facing up.
Also, make sure the barrier goes a few inches up the walls and stays in place before you lay down the flooring.
Your subfloor should be flat within 3/16 inch over 10 feet. Sand down high spots and fill low areas with a self-leveling compound. Let it dry completely before moving on.
Take off the baseboards to install the planks with a clear edge finish. Carefully cut along the caulk line with a utility knife, then gently pry the baseboards off.
If you prefer to keep them, cover the expansion gap with quarter-round or shoe molding.
Taking the time to plan how to lay vinyl plank flooring now will save you from awkward cuts and uneven lines later.
First, measure the room and mark the center point. Planks usually look best when laid parallel to the longest wall or in the same direction as natural light.
Then, dry-fit a few rows to see how the planks align. This helps you avoid narrow slivers at the edges.
Make sure to check end plank sizes. If the last row is too narrow, trim the first row slightly to balance both sides.
Lastly, stagger the seams. Keep joints at least six inches apart in adjacent rows for a more natural look and a stronger floor.
Now, the real fun begins. This is where everything starts to come together, so take your time getting those first rows right.
Start in a corner along your chosen starting wall when you install vinyl plank flooring. Use spacers to leave a 1/4-inch gap between the planks and the wall. This gives the floor room to expand with temperature changes.
Angle the tongue of each plank into the groove of the one before it. Once it’s in place, press it down until it clicks. If the fit isn’t tight, tap it gently with a rubber mallet and tapping block. Don’t force it; let the locking system do the work.
You’ll be cutting planks at the ends of rows and around features like door frames, vents, or pipes. When installing vinyl flooring, accuracy is crucial, especially for the final details.
How do you cut vinyl plank flooring properly?
For straight cuts, score the finished side of the plank several times with a utility knife and straight edge, then snap it. Cut on the finished side to avoid chipping.
Use a jigsaw or a coping saw for notches and curves. Mark your cut line with a pencil and move slowly to keep it clean.
Measure the remaining space and subtract the 1/4-inch expansion gap. You’ll often need to rip the plank lengthwise. Use a utility knife or table saw, depending on the thickness.
When the planks are in place, it’s time to wrap up the job and give your floor a clean, finished look.
Start by removing the spacers from around the edges to reveal the expansion gaps you left earlier.
Install the baseboards or quarter-round trim to cover the gaps and secure the perimeter. If you removed existing baseboards, reinstall them carefully to avoid damaging the new flooring.
Continue to add transition strips where the vinyl meets other flooring types, such as tile, carpet, or hardwood. Ensure the strip height matches both surfaces for a seamless transition.
Make sure to inspect the entire floor as the last step to confirm all planks are fully locked and sitting flat. Gently tap loose ends into place if needed.
Vinyl plank flooring doesn’t ask for much, but a little care goes a long way. Stay on top of these small habits, and your floor will continue to look like new with minimal effort.
To make sure your floor will look better, last longer, and feel sturdier, avoid these common missteps:
Uneven or dirty subfloors can cause planks to shift, bounce, or wear unevenly over time. Always clean and level before you start.
Vinyl requires room to expand and contract in response to temperature changes. Without that 1/4-inch gap, your floor can buckle or warp.
Laying planks without dry-fitting first can leave you with awkward silvers at the edges. Plan to balance your rows.
Lining up seams in a regular pattern looks unnatural and weakens the floor. Make sure to stagger joints by at least 6 inches from row to row.
Let your flooring sit in the room for at least 48 hours before installation. This helps it adjust to the room’s temperature and humidity.
Installing vinyl plank flooring is a project most people can handle with the right tools, prep, and a bit of patience. It’s affordable, looks great, and holds up well in busy homes. Done right, it can completely change the way a room feels and functions.
If you’re covering an ample space or opting for a high-end style, flooring financing can help make the upfront cost more manageable.
Spread pressure-sensitive adhesive with a trowel, lay each plank into the glue, and press firmly. Use a floor roller for a secure bond.
Yes. Click-lock planks are designed for DIY. With proper preparation and patience, beginners can achieve professional-looking results.
Floating is easier and works well in most homes. Glue-down flooring is better suited for high-traffic or commercial areas where extra stability is required.
Trace the shape with a template or pencil. Use a jigsaw for curves or notches, and test the fit before securing it in place.
Only if your planks don’t have built-in underlayment or you’re installing over concrete or uneven surfaces. It adds comfort, sound absorption, and moisture protection.